Before diving into tools, let’s establish the right mindset. Building a Sales AI agent isn’t about chasing the latest features or following hype cycles, it’s about creating something that saves time, generates revenue, and integrates seamlessly into your existing sales workflow automation.
This chapter was co-written with Manthan Patel (co-founder of AcquisitionX), who has built dozens of no-code sales workflows for clients ranging from solo founders to fast-scaling startups. Everything you’ll read here is practical, from the tools he uses to the way he thinks about structure, testing, and scale.
Prerequisites for building your agentic workflow
How to choose the right tools for no-code AI agents
In Manthan’s case, every AI Sales agent starts with a few key building blocks:
A no-code automation platform (usually Make.com or n8n)
A system like La Growth Machine (LGM) that handles multichannel activation at scale
The tool must match the business. For example, if you need true multichannel prospecting, not just LinkedIn or email, then La Growth Machine is a better fit than stacking three tools together. It lets you coordinate LinkedIn, email, and X in one seamless sequence.
Manthan’s advice: always check how the tool integrates into your existing sales stack. Does it plug easily into your CRM? Can it be triggered through Zapier or Make? Does it respect your security and compliance rules? (For enterprise clients, open-source or SOC2-compliant tools are often a must.)
Actually, you do not have to have a technical background to build an agentic workflow, you just need to understand the logic.
Manthan Patel – Founder @ Lead Gen Man, Strategic Advisor @ Maildoso and GTM Partner @ Acquisition X
Data is everything: best practices to keep it clean
Define your data quality standards
Create an ICP checklist (company size, industry, role, etc.)
Set minimum data requirements (Email format, LinkedIn URL presence, etc.)
Establish data freshness rules (how old is acceptable?)
Implement human validation checkpoints
Set up a Slack channel for lead approval notifications
Create a Google Sheet review process with approve/reject columns
Use Gmail filters to route validation requests to the right person
Example workflow: New leads → Slack notification with lead details → Human approves/rejects → Approved leads flow to CRM
Build error handling from day one
Create fallback rules: If LinkedIn URL missing, use company website for research
Set up exception logging: Failed enrichments go to a separate sheet for manual review
Add timeout rules: If API call fails, wait 5 minutes and retry twice
You just make sure that your AI agent never breaks.
Manthan Patel – Founder @ Lead Gen Man, Strategic Advisor @ Maildoso and GTM Partner @ Acquisition X
Playbook: how to build your first agentic workflow
1. Define your business goal & map the workflow logic
Start with one specific outcome: “I want to scrape 50 qualified SaaS leads daily, enrich them with contact info, and push them to HubSpot for outreach.“
Map your workflow stages:
Input: Where does data come from? (LinkedIn Sales Navigator, Apollo, manual upload)
Enrichment: What info needs adding? (Email, phone, recent company news)
Logic: What rules apply? (exclude competitors, require Email format validation)
“You are a sales research assistant. Input: Company name and LinkedIn URL Task: Write a 2-sentence personalized opener for a cold email Output format: JSON with “opener” and “reasoning” fields Context: B2B SaaS outreach to decision-makers”
Action: Test your prompt with 3 different companies before connecting to the full workflow.
Action: Start with Google Sheets memory. Upgrade only when you process 100+ leads daily.
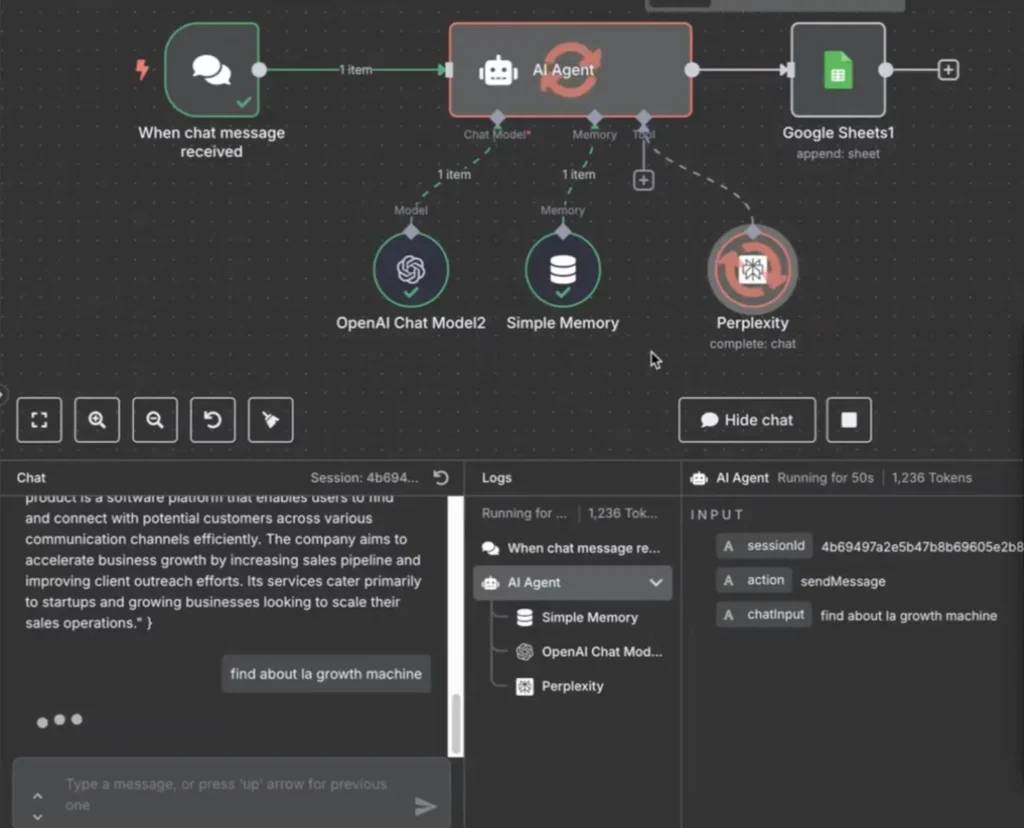
7. Enable web research
Set up web research node:
Add Perplexity or SerpAPI to your Make.com workflow
Get your API key from the provider’s dashboard
Create research query template: “Find recent news and LinkedIn profile for [company name]“
Research query examples:
“What are [company name]’s main challenges in 2024?”
“Find [contact name]’s recent LinkedIn posts about [industry topic]”
“Get [company name]’s latest product launches or funding news”
Action: Test research queries manually first. Ensure results are relevant and accurate.
How to check your agentic workflow
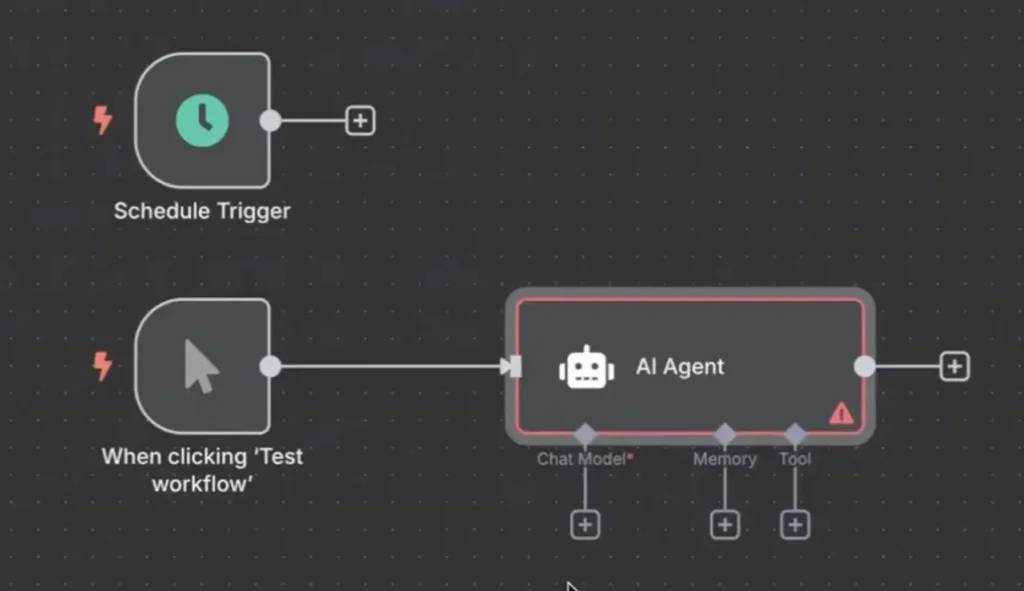
Before going live, test every part. Tools like Make.com and n8n offer a built-in chat mode where you can simulate inputs and see how your agent reacts.
Try giving it bad data. See what breaks. Then add loops or error conditions to make it more resilient. This is where the “agent” part really comes to life, it’s not just automation, it’s adaptation.
KPIs to track
You should see impact fast, this isn’t a six-month pilot.
Track the basics:
Essential metrics:
Lead processing rate: How many leads processed per hour?
Data accuracy: Percentage of correctly enriched leads
Response rate: Emails sent vs. responses received (track after 2 weeks)
Time saved: Manual hours vs. automated processing time
Set up tracking:
Create a dashboard in Google Sheets
Update metrics daily for the first week
Set targets: 90% data accuracy, 2x faster than manual process
Takeaways
Building a AI sales agent requires logic design, not coding skills
Always test with 10 leads before scaling to hundreds
Track basic metrics from day one: processing rate, accuracy, response rate, time saved
Results appear within days, not months, unlike traditional sales process changes
In the next section, we’ll walk through three specific workflow templates you can copy and customize for your business in under two hours.