How to Build Your First Multichannel AI Sales Agent
All you need
Summary of what you'll do
Duplicate campaign in9steps!
Define your business goal & map the workflow logic
Start with one specific outcome: “I want to scrape 50 qualified SaaS leads daily, enrich them with contact info, and push them to HubSpot for outreach.“
Map your workflow stages:
- Input: Where does data come from? (LinkedIn Sales Navigator, Apollo, manual upload)
- Enrichment: What info needs adding? (Email, phone, recent company news)
- Logic: What rules apply? (exclude competitors, require Email format validation)
- Action: What gets triggered? (CRM update, Slack notification, Email sequence start)
- Validation: Where does human review happen? (before CRM push, after enrichment)
Action: Draw this on paper first. Use boxes for each stage and arrows for data flow. This becomes your blueprint.
.png)
Prepare and clean your input data
Start small and clean:
- Use 10 leads for your first test
- Check each row manually: valid email format, correct company name, matches ICP
- Remove duplicates using email as the unique identifier
- Fill in missing fields where possible
If scraping data:
- Run Apify scraper on one LinkedIn search result page only
- Export to Google Sheets
- Add columns for: validation_status, enrichment_status, human_review_needed
Action: Create a data template with required fields: first_name, last_name, email, company, linkedin_url, validation_status

Set your data trigger
Choose your trigger type:
Option A: scheduled (recommended for beginners)
- Set n8n to run every morning at 8 AM
- Process 10-20 leads maximum per run
- Easier to monitor and debug
Option B: real-time
- Trigger when new row added to Google Sheets
- Use webhook from your scraping tool
- More complex but faster processing
Action: Start with scheduled. Set it to run once daily at a time when you can monitor results.
Add your first agent
In n8n, drag your first agent.
An agent works thanks to 3 components:
- LLM node (OpenAI GPT-4 or Claude)
- Memory storage (Google Sheets or Make data store)
- Web research tool (Perplexity or SerpAPI)
Let’s see how to add them to your “agent” block.
Add a Large Language Model (LLM) node
Choose the right LLM for your task:
- OpenAI GPT-4: Best for writing personalized emails
- Claude: Better for data analysis and logic
- Perplexity: Excellent for research tasks
Set up your LLM prompt template, or copy ours.
Action: Test your prompt with 3 different companies before connecting to the full workflow.
Add memory to your agent
Simple memory setup:
- Use Google Sheets as your memory store
- Create columns: lead_id, conversation_context, last_interaction, next_action
- Update after each agent interaction
Advanced memory (optional):
- Connect to Supabase for faster queries
- Store conversation history and research results
- Enable context carry-over between workflow runs
Action: Start with Google Sheets memory. Upgrade only when you process 100+ leads daily.
Enable web research
Set up web research node:
- Add Perplexity or SerpAPI to your Make workflow
- Get your API key from the provider’s dashboard
- Create research query template: “Find recent news and LinkedIn profile for [company name]“
Research query examples:
- “What are [company name]’s main challenges in 2024?”
- “Find [contact name]’s recent LinkedIn posts about [industry topic]”
- “Get [company name]’s latest product launches or funding news”
Action: Test research queries manually first. Ensure results are relevant and accurate.
Test your agentic workflow
Before going live, test every part. n8n offers a built-in chat mode where you can simulate inputs and see how your agent reacts.
Try giving it bad data. See what breaks. Then add loops or error conditions to make it more resilient. This is where the “agent” part really comes to life, it’s not just automation, it’s adaptation.
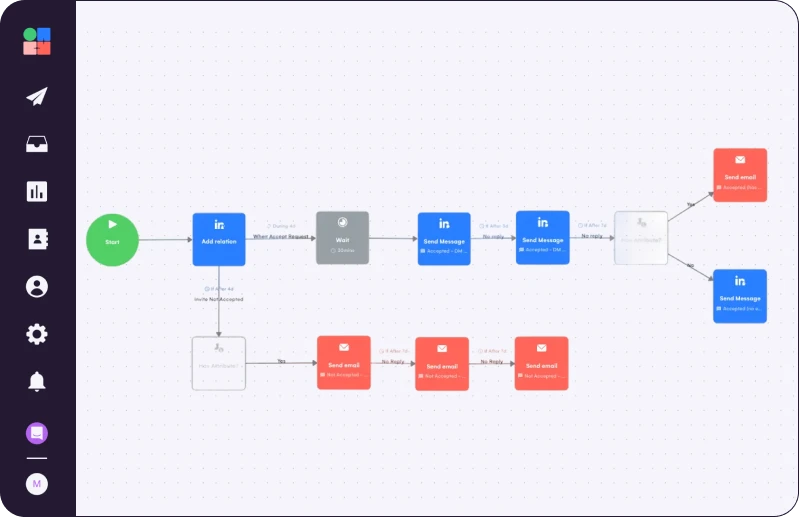
Contact leads with multichannel outreach
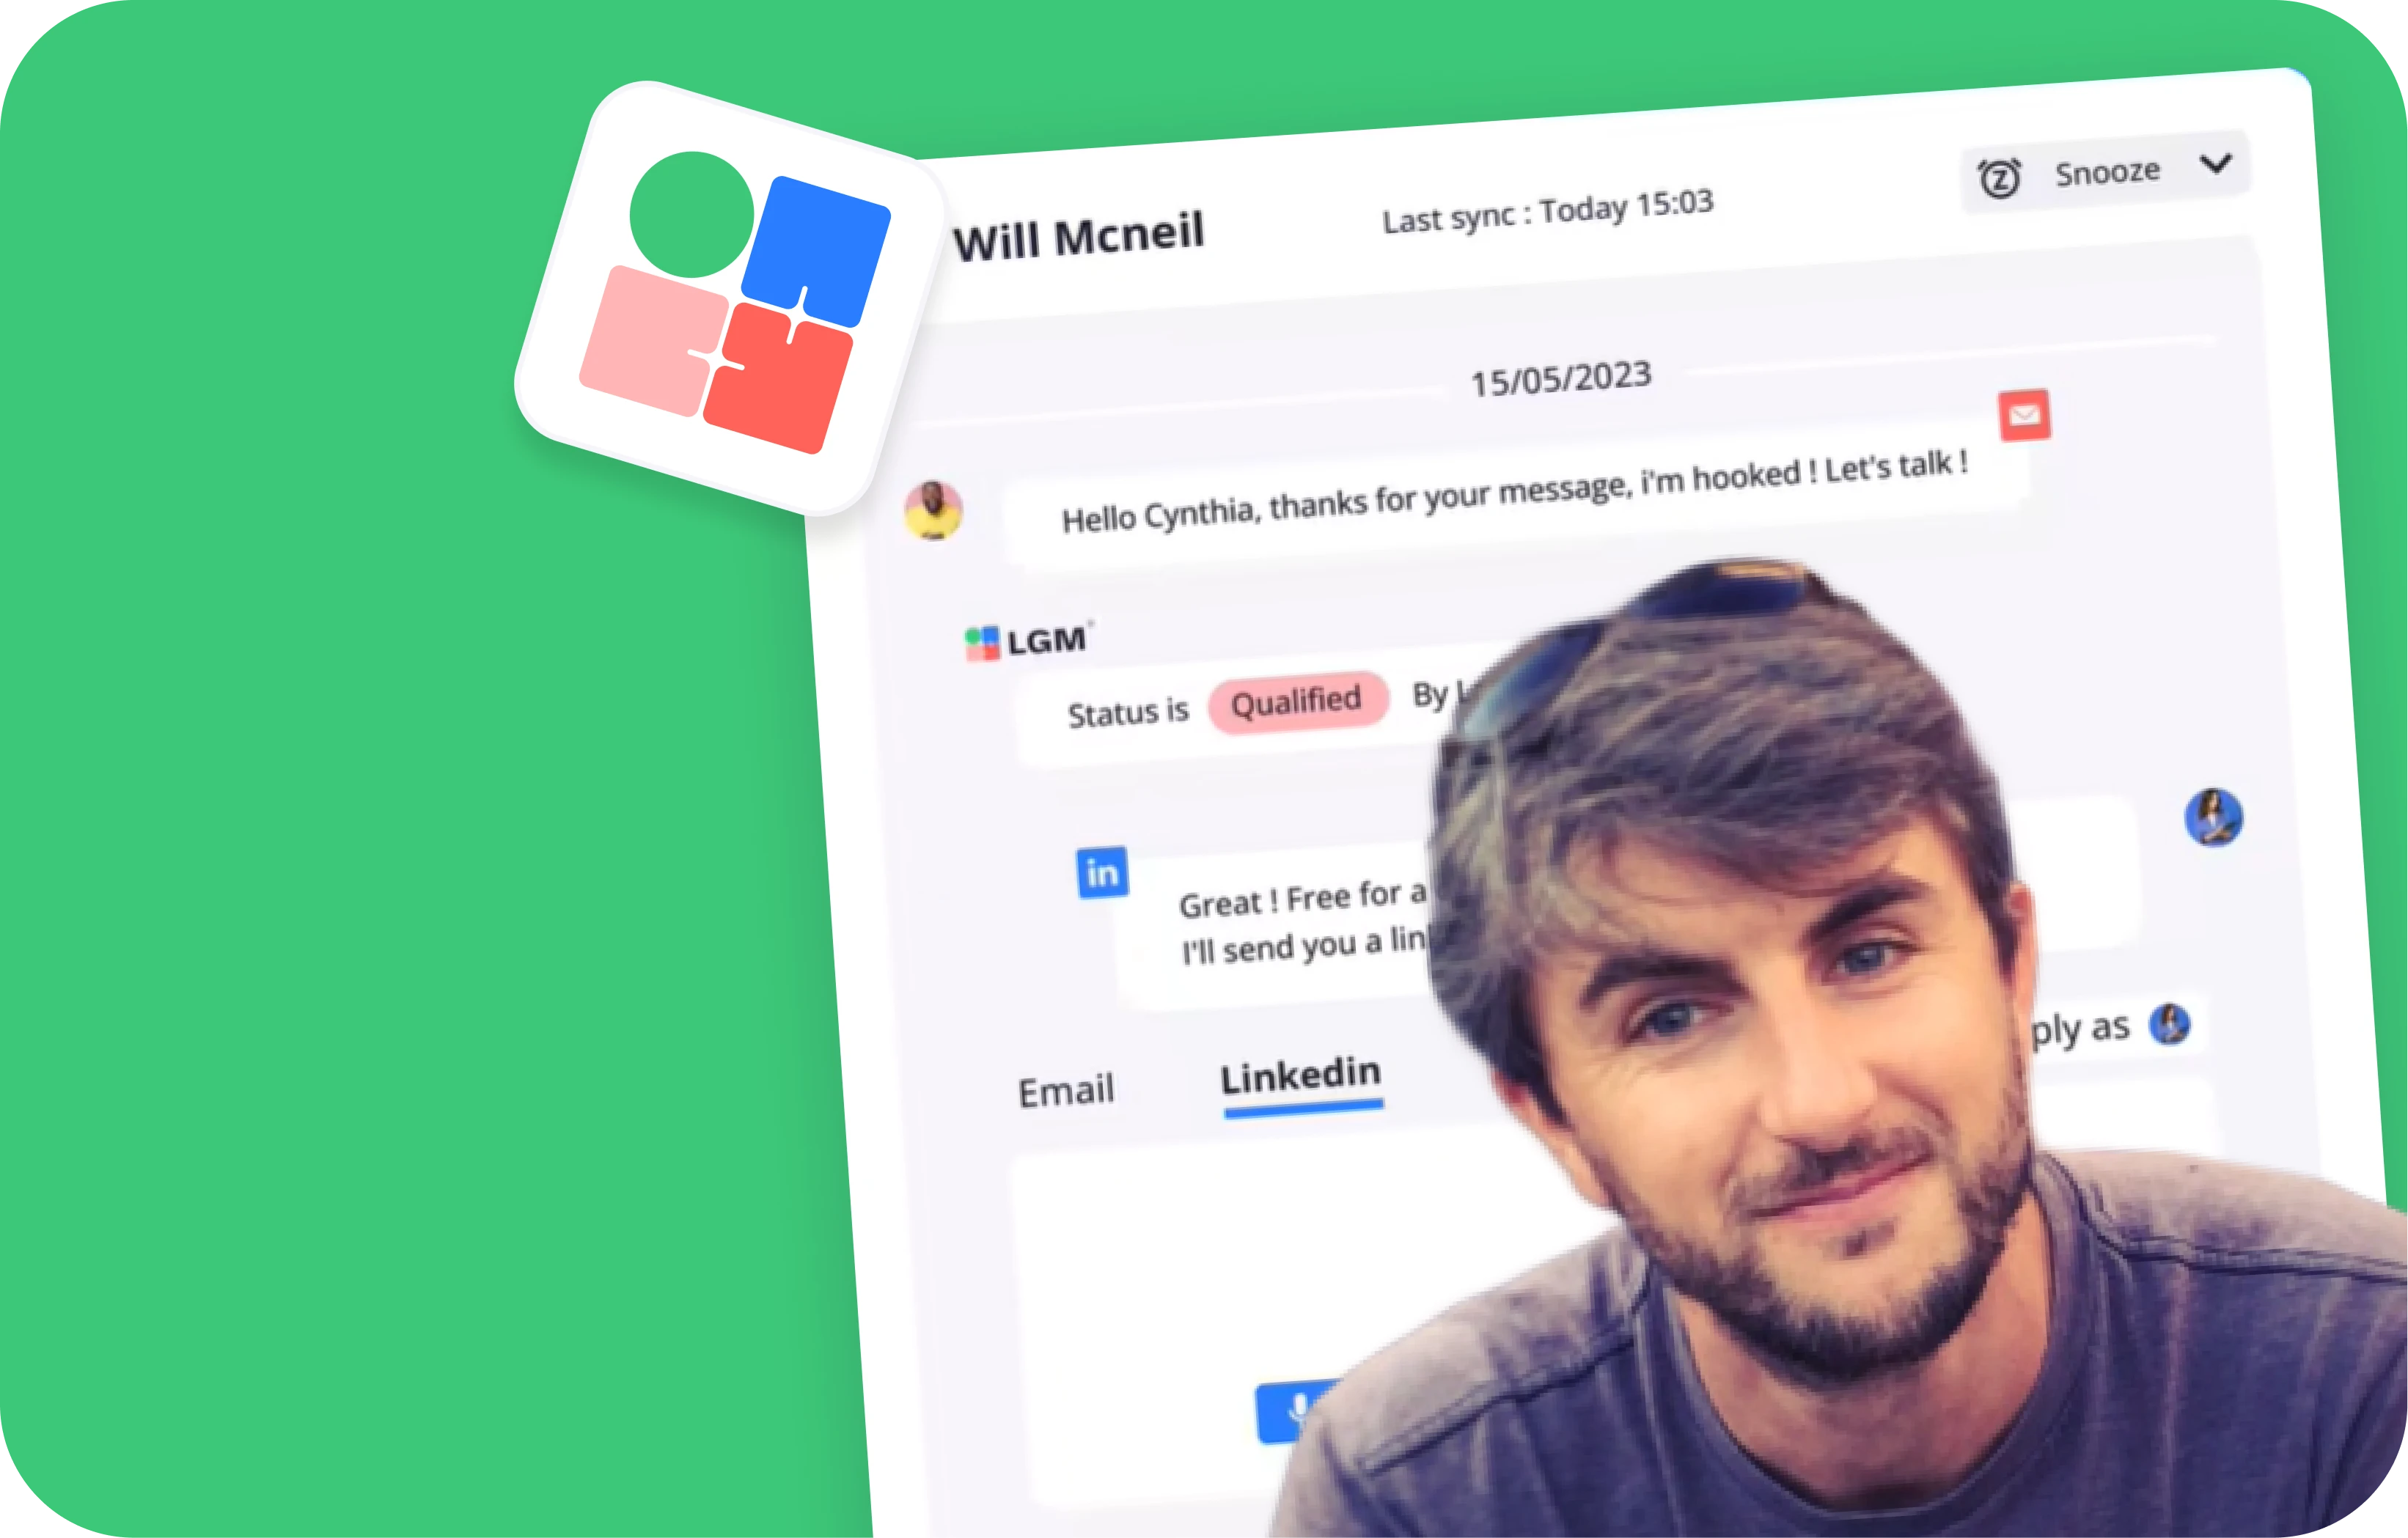
Now that your AI agent has generated custom openers for each lead, it’s time to reach out. Duplicate this simple LGM workflow to contact them on Email + LinkedIn.
Then:
- Name the column in your Google Sheet whatever you want (e.g., “opener”, “ai_opening_line”, “intro_copy”).
- When you import into LGM, map that column to a Custom Attribute.
- In your LGM campaign, reference it with the variable {{customAttribute1}} inside your email and LinkedIn message steps.
Result: Your automated outreach will feel personal, because each lead will receive a message with personalized context.

Read Next

Turn Cold Prospects into $3,000+ Clients

How to Become “Product of the Day” on Product Hunt

How to Make Your Automated LinkedIn Outreach Feel Human