
TL;DR
Automatic email signatures are a powerful tool for B2B communication, offering a glanceable way to present who you are and what you offer. They enhance branding, provide quick access to contact information, and can drive conversions by including CTAs. While they don’t affect deliverability, they improve engagement. Setting them up is straightforward in services like Gmail and Outlook. Key tips for an effective signature include keeping it concise, prioritizing essential information (name, title, company, website), making contact details easily accessible, adding a personal touch if appropriate, and ensuring it aligns with your company’s brand identity.
Automatic signature is a boon for B2B email: adding an automatic signature allows you to show who you are, what you do, and what you offer at a glance.
What are the stakes of automatic signature for businesses? How to set up the automatic signature?
In this article, we’ll look at the benefits and setup of automatic signatures to optimize not your email deliverability, but rather your email conversion rate.
What is an automatic email signature?
An automatic signature is information that you add to the end of your emails automatically.
The automatic signature allows recipients of your emails to learn more about you, your company, or your brand (and thus generate more leads). It is also a powerful branding tool.
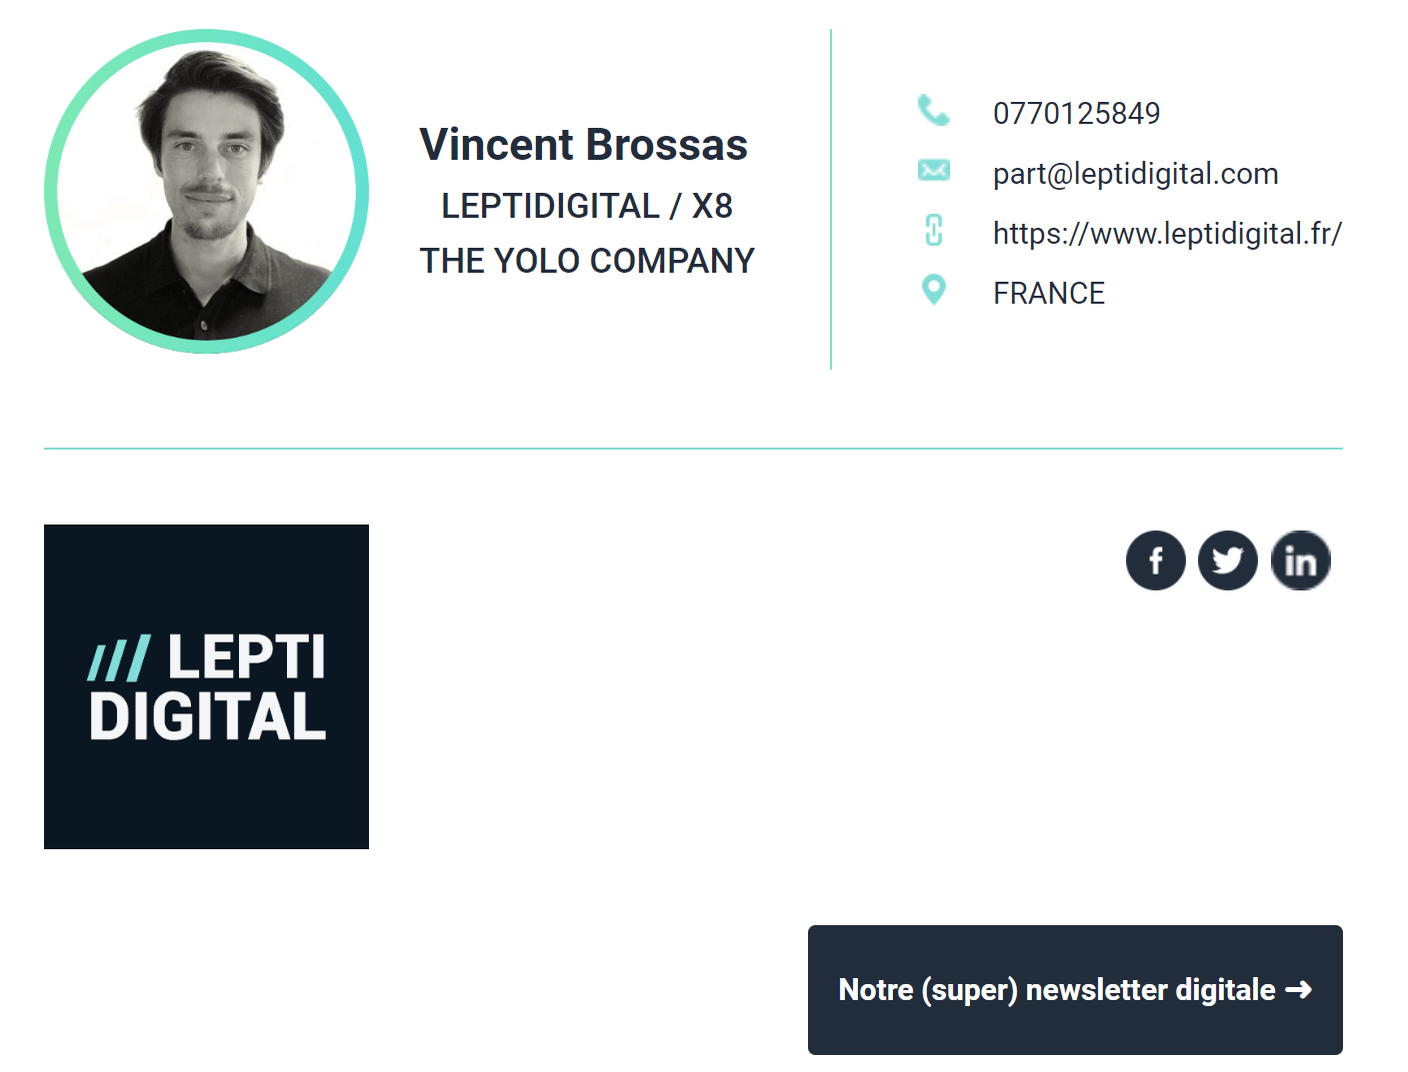
It can include elements such as:
- your last name;
- your first name;
- your position;
- your website address;
- the link to your social profiles;
- a profile picture;
- a quote;
- a link to an article you wrote, etc.
No need to specify your postal or email address: from experience, most recipients will find your email address or reply to you via the automatic “reply” function.
Get 3.5X more leads!
Looking to improve your sales team’s performance? LaGrowthMachine allows you to generate an average of 3.5X more leads, while saving you a ton of time on all your processes. By signing up today, you’ll get a 14-day free trial to test our tool!
What are the advantages of an automatic email signature?
Adding an automatic signature to your emails offers several advantages:
- your email has more visibility, can be better identified, and is more engaging;
- you save your contacts time by allowing them to directly access additional information about you or your company;
- you humanize your correspondence by making it more personal;
- the possibility of adding a CTA (call-to-action) to encourage recipients to click on a link to your website;
- increasing the email conversion rate according to your objectives (in the case of an automated email for prospecting, generating more leads or selling more products).

Not to mention that it will be impossible for you to forget to sign your emails!
In general, as with a LinkedIn connection message, creating an automatic signature therefore improves your image with your colleagues or external partners with every new message.
Quick tip 💡
Be careful: an automatic signature will not improve your deliverability or your bounce rate. However, email signatures do help generate better engagement and prove that your content is not spam.
How to add an automatic signature to your email?
There are as many ways to add an automatic signature to your email sequences as there are email clients. Each has its own specific process. In this article, we will focus on Google and Outlook’s messaging solutions, which are the most used in professional settings.
Add an automatic signature on Gmail
If you prefer Google’s G Suite messaging solution, you can set up your automatic signature by following these steps:

1. Log in to your G Suite account and open Gmail.
2. Click on the gear icon in the upper left corner of the screen, then select “Settings”.
3. In the “Signature” section, click “Add new signature”.
4. Fill in the “Name”, “Position”, “Company”, and “Website” fields. You can also add a profile picture by clicking the camera icon in the upper left corner of the “Signature” field.
5. Select the option “Insert in all outgoing messages” so that your automatic signature is added to all your emails.
6. Click “Save changes” at the bottom of the page to finalize your signature setup.
You’re done!
Add an automatic signature on Outlook
If you use Outlook as your email service, you can add an automatic signature by following this guide:

1. Log in to your Outlook account and open your email.
2. Click “File” in the top menu, then select “Options”.
3. In the window that opens, click “Mail” in the left-hand menu, then go to the “Signature” section.
4. Click “New” to create a new signature.
5. Fill in the “Name”, “Position”, “Company”, and “Website” fields. You can also add a profile picture by clicking the camera icon in the upper left corner of the “Signature” field.
6. Select the option “Insert in all outgoing messages” so that your automatic signature is added to all your emails.
7. Click “Save changes” at the bottom of the page to finalize your signature setup.
Again, your automatic signature is set up!
Quick tip 💡
Whether for Google, Microsoft, Yahoo Mail, or any other messaging solution, you can also add dynamic elements to your signature, such as a link to your latest blog post or a CTA to your website.
Some tips for your automatic signature
Once you have set up your automatic signature, it’s important to write it well so that it is impactful and attractive, in order to improve your lead conversion. Here are some tips to follow:
- Keep it short and simple: there’s no need to put too much information in your signature; it might make it less readable. One line and a few words are enough!
- Prioritize important information: your name, your position, your company, and your custom email domain are essential. There’s no need to mention your date of birth or phone number, as it’s not useful for your professional contacts.
- Highlight your contact details: your email and website should be easily accessible, preferably by clicking on icons.
- Add a personal touch: if you wish, you can add a profile picture or a link to your blog so that your contacts can learn more about you.
- Maintain the same format as your company: if you send professional emails, your signature should be consistent with your brand’s communication (and ideally, you have activated your email SPF). There’s no need to add emoticons or flashy colors if you work in an accounting firm, for example.
By following these few tips, you’re sure to write an impactful and professional automatic signature!
